Assisted Setup
The Elevate Admin Setup Guide helps administrators configure the extension securely and efficiently. It is launched from the Admin Hub via the Elevate Admin Setup action, or from the standard Assisted Setup list.
User Guide
- Open the Admin Hub page in Business Central.
- Click the Elevate Admin Setup action in the ribbon.
Note: Once setup is complete, the action is disabled. To re-run the guide, open it from the Assisted Setup list.
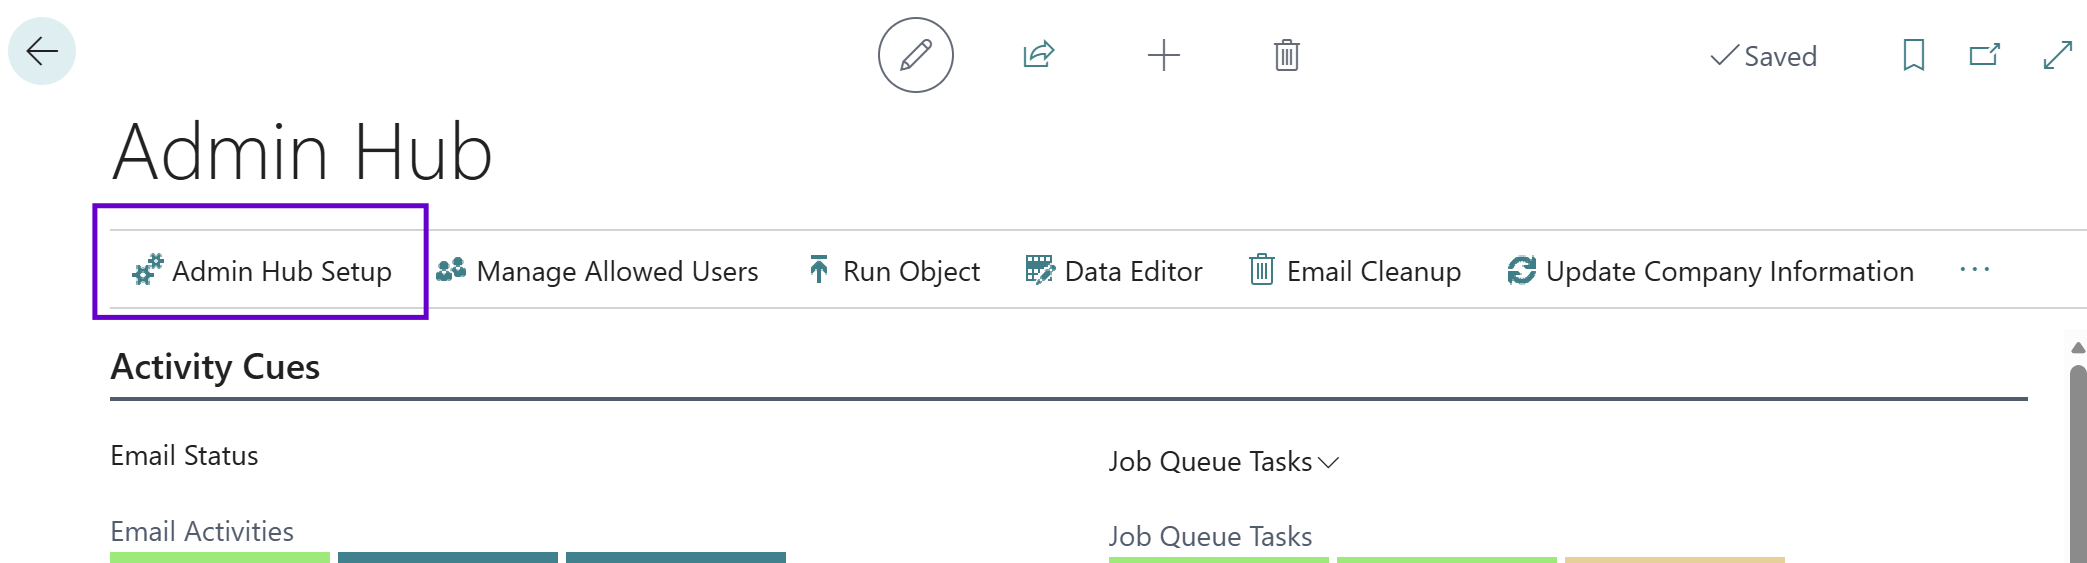
- The Assisted Setup Guide opens and walks you through three steps.
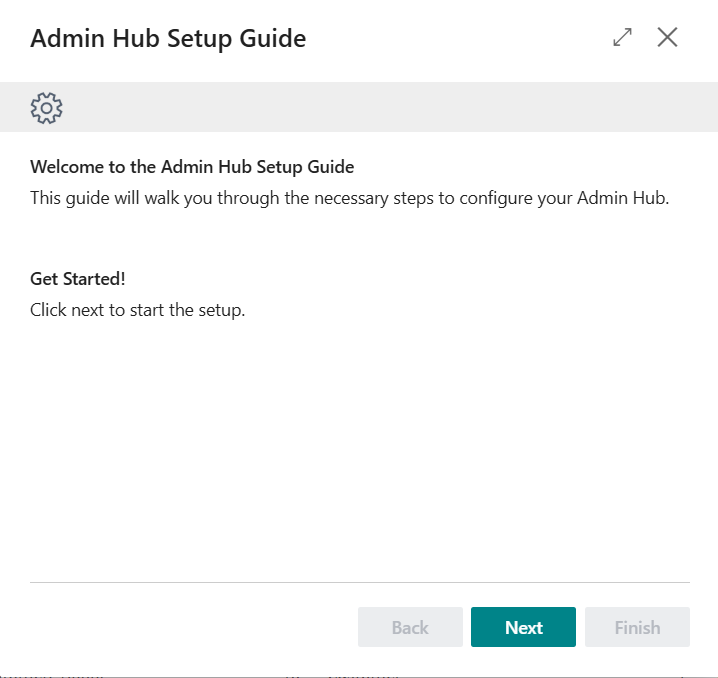
Step 1: Welcome
- Introduction to Elevate Admin and the setup process.
- Click Next to proceed.
Step 2: Set Admin Password
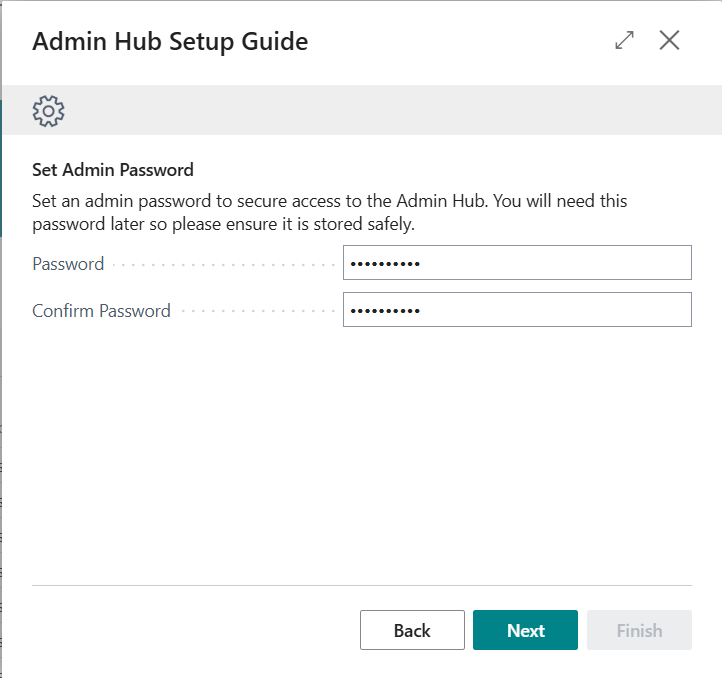
- The admin password gates editing of the Allowed Users list. It is stored in isolated storage and masked on entry.
- If a password has not yet been set, enter and confirm a new one.
- If a password is already configured, this step instead offers a Click here to reset the admin password drill-down (requires SUPER permissions).
| Field | Description |
|---|---|
| Password | The new admin password to assign. Input is masked. |
| Confirm Password | The same password again. Must match exactly before the wizard advances. |
| Click here to reset the admin password | Drill-down shown when a password is already configured. Opens the Reset Admin Password dialog. |
- Click Next to continue.
Step 3: Configure Allowed Users
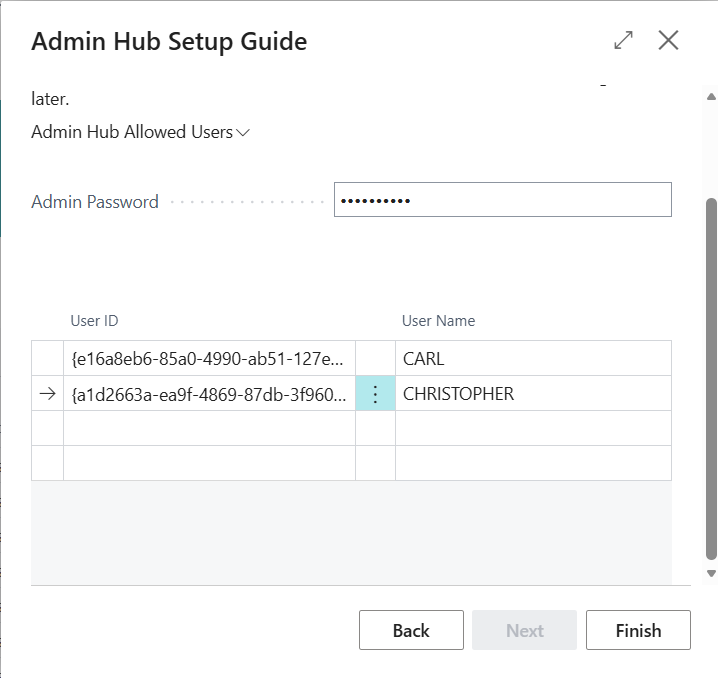
- Enter the admin password to unlock the list, then add a row for each user who should be permitted to run privileged Elevate Admin actions (Data Editor, Update Company Information, Disable AAD Applications).
- Pick the User ID from the lookup; the User Name column populates automatically.
- Click Finish to mark setup complete and close the wizard.
| Field | Description |
|---|---|
| Admin Password | Enter the configured admin password to unlock the list. |
| User ID | The Business Central user being granted access. Use the lookup to pick from existing users. |
| User Name | Read-only full name of the selected user. |
Important: Store the admin password safely. It is masked on entry and cannot be retrieved later. If lost, a SUPER user must use Reset Admin Password to set a new one.
Managing Allowed Users After Setup
To add or remove users at any time:
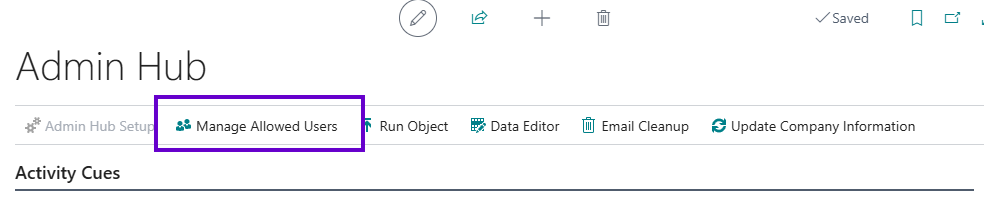
- Open the Admin Hub and choose Manage Allowed Users.
- Type the Admin Password at the top of the page. The user list becomes editable.
- Add or delete rows as needed.
- Use the Reset Admin Password action (SUPER required) to change the password.
Note: The Admin Hub's privileged action buttons (Review and Edit, Bulk Update, Update Company Information, Disable AAD Applications) are disabled for any user not on this list — even users with SUPER permissions.